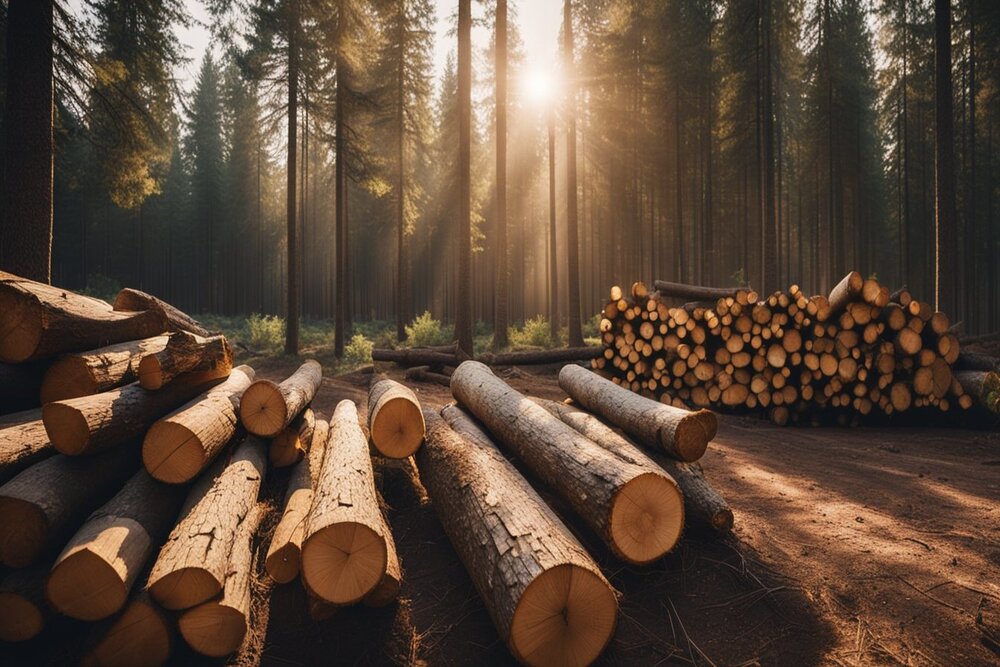
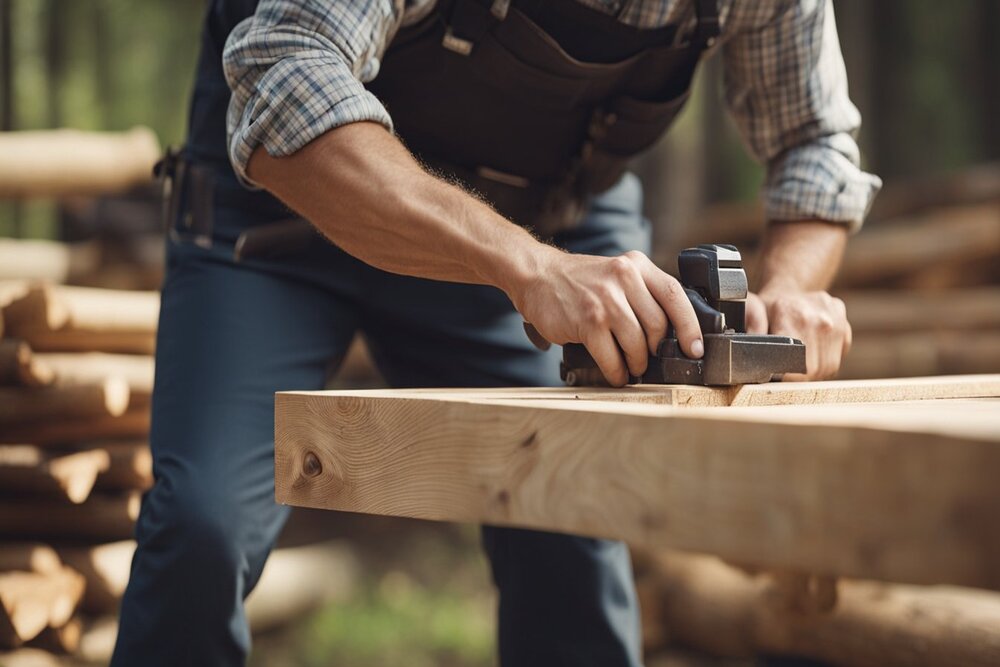
Building a log cabin using trees from your own land is a rewarding project. It lets you create a cozy home or retreat while using natural resources. This process connects you to the land and gives you a sense of pride in your work.
Using trees from your property can save money and reduce environmental impact. This approach cuts down on transportation costs, lets you choose the best logs for your cabin, and gives you control over the whole building process.
Planning is critical when building a log cabin. You must pick the right trees, select the correct diameter of the logs, prepare the site, and learn proper log-handling techniques. With some research and effort, you can build a sturdy cabin with logs used for your land that lasts for years.
Key Takeaways
- Using lumber from your land saves money and is eco-friendly
- Proper planning and tree selection are crucial for a successful cabin build
- Building your own log cabin creates a strong connection to nature and your property
Selecting the Right Trees

Choosing the best trees for your log cabin is crucial. The correct species and quality of trees will ensure a sturdy, long-lasting log house.
Determining Suitable Species
Cedar, pine, fir, spruce, and oak are common choices for log cabins. Cedar is rot-resistant and lightweight. Pine trees are easy to work with and widely available. Fir and spruce offer strength and stability. Oak is very durable but heavy and hard to work with.
Consider your local climate when picking a species. Some trees handle moisture better than others. Think about insulation needs, too. Denser woods like oak provide better insulation than softer woods like pine.
Look at shrinkage rates for different species. This affects how much your logs may settle over time. Lower shrinkage rates mean less maintenance later on.
Assessing Tree Health and Size
Pick straight trees with few branches. This makes harvesting easier and results in better logs. Aim for a log diameter of 10-14 inches at chest height. Smaller trees won’t provide enough material, and larger ones are harder to handle.
Check for signs of disease or pest damage. Avoid trees with fungal growth, insect holes, or dead branches. These issues can weaken the wood and spread to your cabin.
Look for trees with minimal taper. A consistent diameter along the trunk gives you more usable wood. Examine the bark, too. Smooth, undamaged bark often indicates a healthy tree.
Preparing the Build Site
Proper site preparation is crucial for a stable and long-lasting log cabin. A well-prepared site ensures your cabin has a solid foundation and good drainage.
Site Clearing and Leveling
Start by marking the cabin’s footprint on your land. Remove all trees, stumps, and large rocks within this area. Before you start building, saw down any trees that could fall on your cabin in the future.
Clear away brush, grass, and topsoil. Dig out the site to create a level base. Use a transit level to check for evenness. Add or remove soil as needed to achieve a flat surface you are able to build on.
If your site is on a slope, you may need to cut into the hillside or build up one side. For larger projects, consider hiring an excavator. Good drainage is critical so that water will flow away from your cabin.
Foundation Layout
Mark your foundation corners with stakes and string. Using the 3-4-5 triangle method, double-check that the corners are square. Measure the diagonals to ensure they’re equal.
Decide on your foundation type. Options include concrete slab, pier, or crawl space. For a concrete slab, form and pour your pad. For pier or crawl space, dig holes or trenches for footings.
Set your sill logs or floor joists on the foundation, ensuring they’re level and square. To prevent rot, use a moisture barrier between wood and concrete.
Check local building codes for the required depth of footings and other specs. Good site prep and a solid foundation will help your cabin stand strong for years.
Log Preparation Techniques
Proper log preparation is critical to building a sturdy log cabin. Two main steps are needed to prepare the logs for construction.
Felling and Peeling
Start by felling trees with a chainsaw. Choose straight trees at least 10 inches thick. Cut them in late fall or winter when sap flow is low.
Once felled, remove all branches. Then, peel off the bark using a drawknife or bark spud. Work from the bottom of the log upwards. Peeling is easier when logs are fresh.
Debarking prevents insect issues, helps logs dry faster, and gives your cabin walls a smoother finish.
Cutting and Notching
After peeling, cut logs to the correct length for your cabin design. Use a chainsaw for straight cuts.
Next, create notches where logs will join at corners. You can use an axe, adze, or chainsaw for notching. Standard notch types include saddle notch and dovetail.
Measure carefully before cutting notches. They should fit snugly to keep your cabin walls stable and weathertight.
Practice notching on scrap logs first. This will help you perfect the technique before working on your actual cabin logs.
Constructing the Cabin Structure

Building the cabin structure involves carefully stacking logs and adding a roof. This process requires attention to detail and proper techniques to ensure a sturdy, weather-resistant home.
Erecting Walls and Framework
Start by laying the first round of logs on your foundation. Use notches to join the logs at the corners. Stack more logs on top, making sure they fit snugly. Use chinking to fill gaps between logs.
Cut openings in the walls as you build up windows and doors. Frame these openings with sturdy timber to keep their shape.
If you’re building a multi-story cabin, add floor joists to support the upper levels. These beams run across the cabin’s width and rest on the log walls.
Roofing and Insulation
Choose a roof style that complements your cabin’s design. A simple gable roof works well for most log cabins. Install rafters to shape the roof.
Cover the rafters with plywood sheathing. Add a layer of waterproof underlayment to prevent leaks. Finish with your chosen roofing material, such as shingles or metal panels.
Insulate the roof space to keep your cabin warm. Use fiberglass batts or spray foam between the rafters. Also, insulate the walls and floor. This helps control temperature and reduce energy costs.
Finishing Touches and Maintenance
The final steps in building your log cabin involve adding style and protection. Proper care will keep your cabin looking great for years to come.
Interior Design and Exterior Finishing
Choose stains to enhance the natural beauty of your logs. Apply a clear sealant to protect the wood from moisture and insects. Install energy-efficient windows to let in light and keep out drafts. Add insulation between logs for better temperature control.
For the interior, sand any rough spots on walls and floors. Use wood-friendly finishes on cabinets and trim. Pick furniture that fits the rustic theme. Hang curtains or blinds for privacy.
Build a porch or deck on the outside to extend your living space. Add shutters or window boxes for charm: plant native shrubs and flowers to blend your cabin with its surroundings.
Long-term Care and Upkeep
Check your cabin’s exterior twice a year for signs of wear. Look for cracks, gaps, or pest damage in the logs. Reapply stain and sealant as needed to maintain protection.
Clean gutters and check the roof for leaks or loose shingles. Trim trees near the cabin to prevent damage from falling branches.
Inside, dust and vacuum regularly. Wipe down the log walls with a damp cloth to remove dirt. Check for drafts around windows and doors. Replace weatherstripping if needed.
Keep an eye on the foundation, fill any cracks promptly, and ensure water drains away from the cabin to prevent rot.
With proper care, your log cabin will stay cozy and durable for many years.
Frequently Asked Questions
Building a log cabin with trees from your own land involves several key steps and considerations. Here are answers to common questions about the process.
What are the essential steps in building a log cabin on my property?
Choose a suitable site on your land. Clear the area and prepare the foundation. Cut and peel logs. Build the cabin walls by stacking logs. Add the roof, windows, and doors. Finish the interior.
Can I construct a log cabin on my own, and if so, what skills are needed?
With the right skills, you can build a log cabin yourself. Basic carpentry and construction knowledge is crucial. You’ll need to know how to use tools like chainsaws, chisels, and levels. Physical strength and endurance are also necessary.
How can I calculate the number of trees required to build a cabin?
Measure your cabin’s planned size and height. Count how many logs fit in each wall. Add extra for roof supports and mistakes. A typical small cabin needs 50-80 trees. Larger cabins require many trees, usually 200 or more.
What is the most cost-effective method for constructing a log cabin?
Using trees from your own land is often the cheapest option. Do as much work yourself as possible to build a cheap cabin of top quality. Once you decide on the size of the cabin, use simple designs and utilize local materials whenever possible. Skip fancy finishes. Focus on essentials like a solid structure and good insulation.
How long should trees be allowed to dry before they are suitable for cabin construction?
Trees should dry for 6-12 months after cutting. This reduces shrinkage and cracking. Stack logs off the ground with spacers between them. Cover the pile to protect it from rain, but allow airflow to the logs immediately.
What are the legal considerations when building a log cabin using trees from one’s own land?
If you want to build, check local zoning laws and building codes. You may need permits before starting to cut down trees. Some areas limit tree cutting or have specific rules for log cabins. Make sure your parcel land deed allows for construction. Consider environmental impacts and any protected forage or tree species on your property before planning to build a home.

